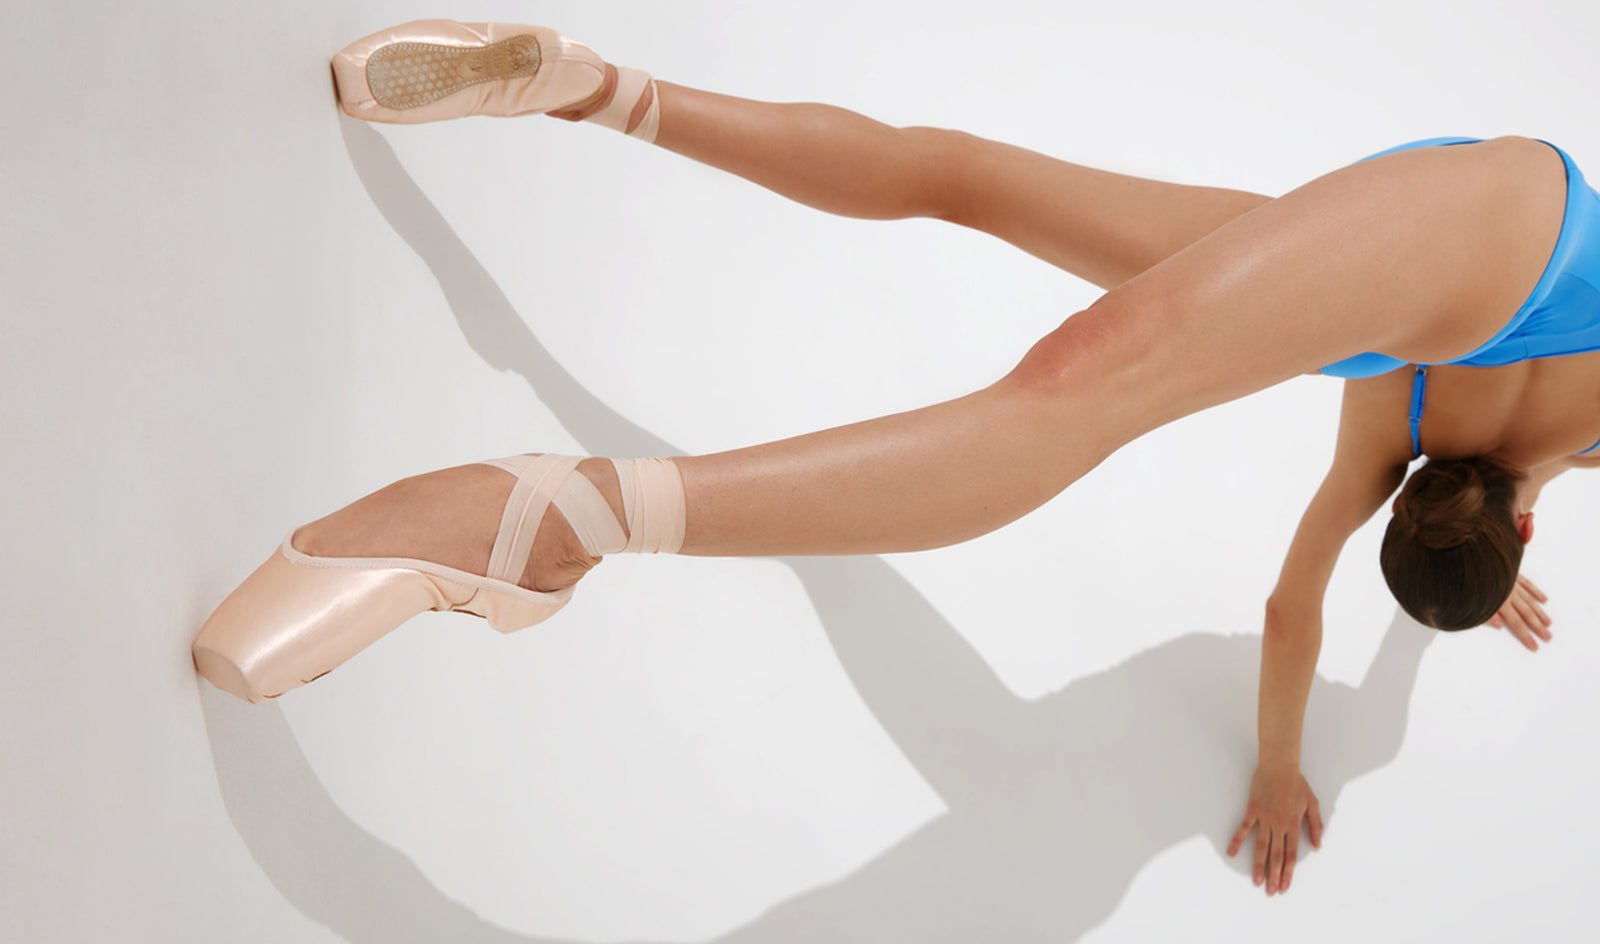
There’s nothing more exciting than getting your first pair of pointe shoes. But before you can dance in them, you need to sew on your ribbons and elastics—a task that dancers either love or hate! As a professional dancer, I’ve honed a tried and tested method that I’m excited to share with you. Follow these steps, and you’ll have your pointe shoes ready to go in no time.
What You’ll Need
To get started, gather these essentials:
- A needle (or stitch kit)
- Strong thread (or my favorite: dental floss for extra durability!)
- Ribbons, cut into four equal lengths and burnt at the ends to prevent fraying
- Elastics, if using: two pieces for around each ankle, or four if you prefer a criss-cross pattern
Positioning Your Elastics
First, find the right position for your elastics. If this is your first time, I recommend using a pin or safety pin to attach them to your shoes temporarily.
Try on your shoes to test the tightness and positioning. Some dancers prefer one elastic around the back of the shoe to keep the heel secure, while others opt for an X-pattern across the shoe for added stability. Both options are valid, and some dancers even skip elastics altogether.
If you choose the criss-cross method, place the elastics near the highest point of your arch; this helps pull the shoe closer to your foot for a snug fit.

How to Position Your Ribbons
Once you’re satisfied with the elastics, it’s time to position your ribbons. Here are two methods to help you find the perfect spot:
Method 1: Bend the Heel
One simple method is to bend the heel of your pointe shoe down. Place the ribbons at the crease where the heel meets the shoe—this is your sewing point.

Method 2: Foot Placement
Another option is to cut your full-length ribbon in half and place it underneath your bare foot, making sure the ribbon is evenly distributed on both sides. Point and flex your foot gently until the ribbon feels settled and comfortable. Hold the ribbon in place, slide your foot into the shoe, and mark where the ribbon lies on the shoe. This is where you will sew.
The goal is for the ribbons to help pull the satin smooth against your foot, lying flat for a polished look. Angling the ribbons slightly forward can also help them lie flatter.

Sewing Your Ribbons and Elastics
Now that your ribbons and elastics are positioned, it’s time to sew! I recommend sewing around the outskirts of the ribbon and then making a square stitch across the ribbon just below the drawstring. This method provides stronger support than a single line stitch.
When sewing elastics, I typically sew over the drawstring but take care not to sew through it, as you may need to adjust the drawstring later.

Top Tips for Sewing Pointe Shoes
- Avoid sewing through the drawstring: You’ll want to keep this adjustable for a perfect fit.
- Leave enough ribbon to secure: Make sure there’s enough ribbon inside the shoe to sew securely.
- Don’t sew through the satin: Aim to sew through the inner lining only, to maintain the appearance of the shoe.
- Materials matter: Different brands use different materials, which can affect how easy or difficult they are to sew. For example, Gaynor Mindens are known to be particularly tough—using a stronger needle and a thimble might help.
- Neat stitches: Sewing neatly will make it easier to unpick and adjust your ribbons if needed.

Happy sewing and even happier dancing! Your pointe shoes are now ready to support you as you dance your heart out.

